
Travel TechnologyTravel Photography
How to Create a Photo Collage with Travel Photos to Display
By
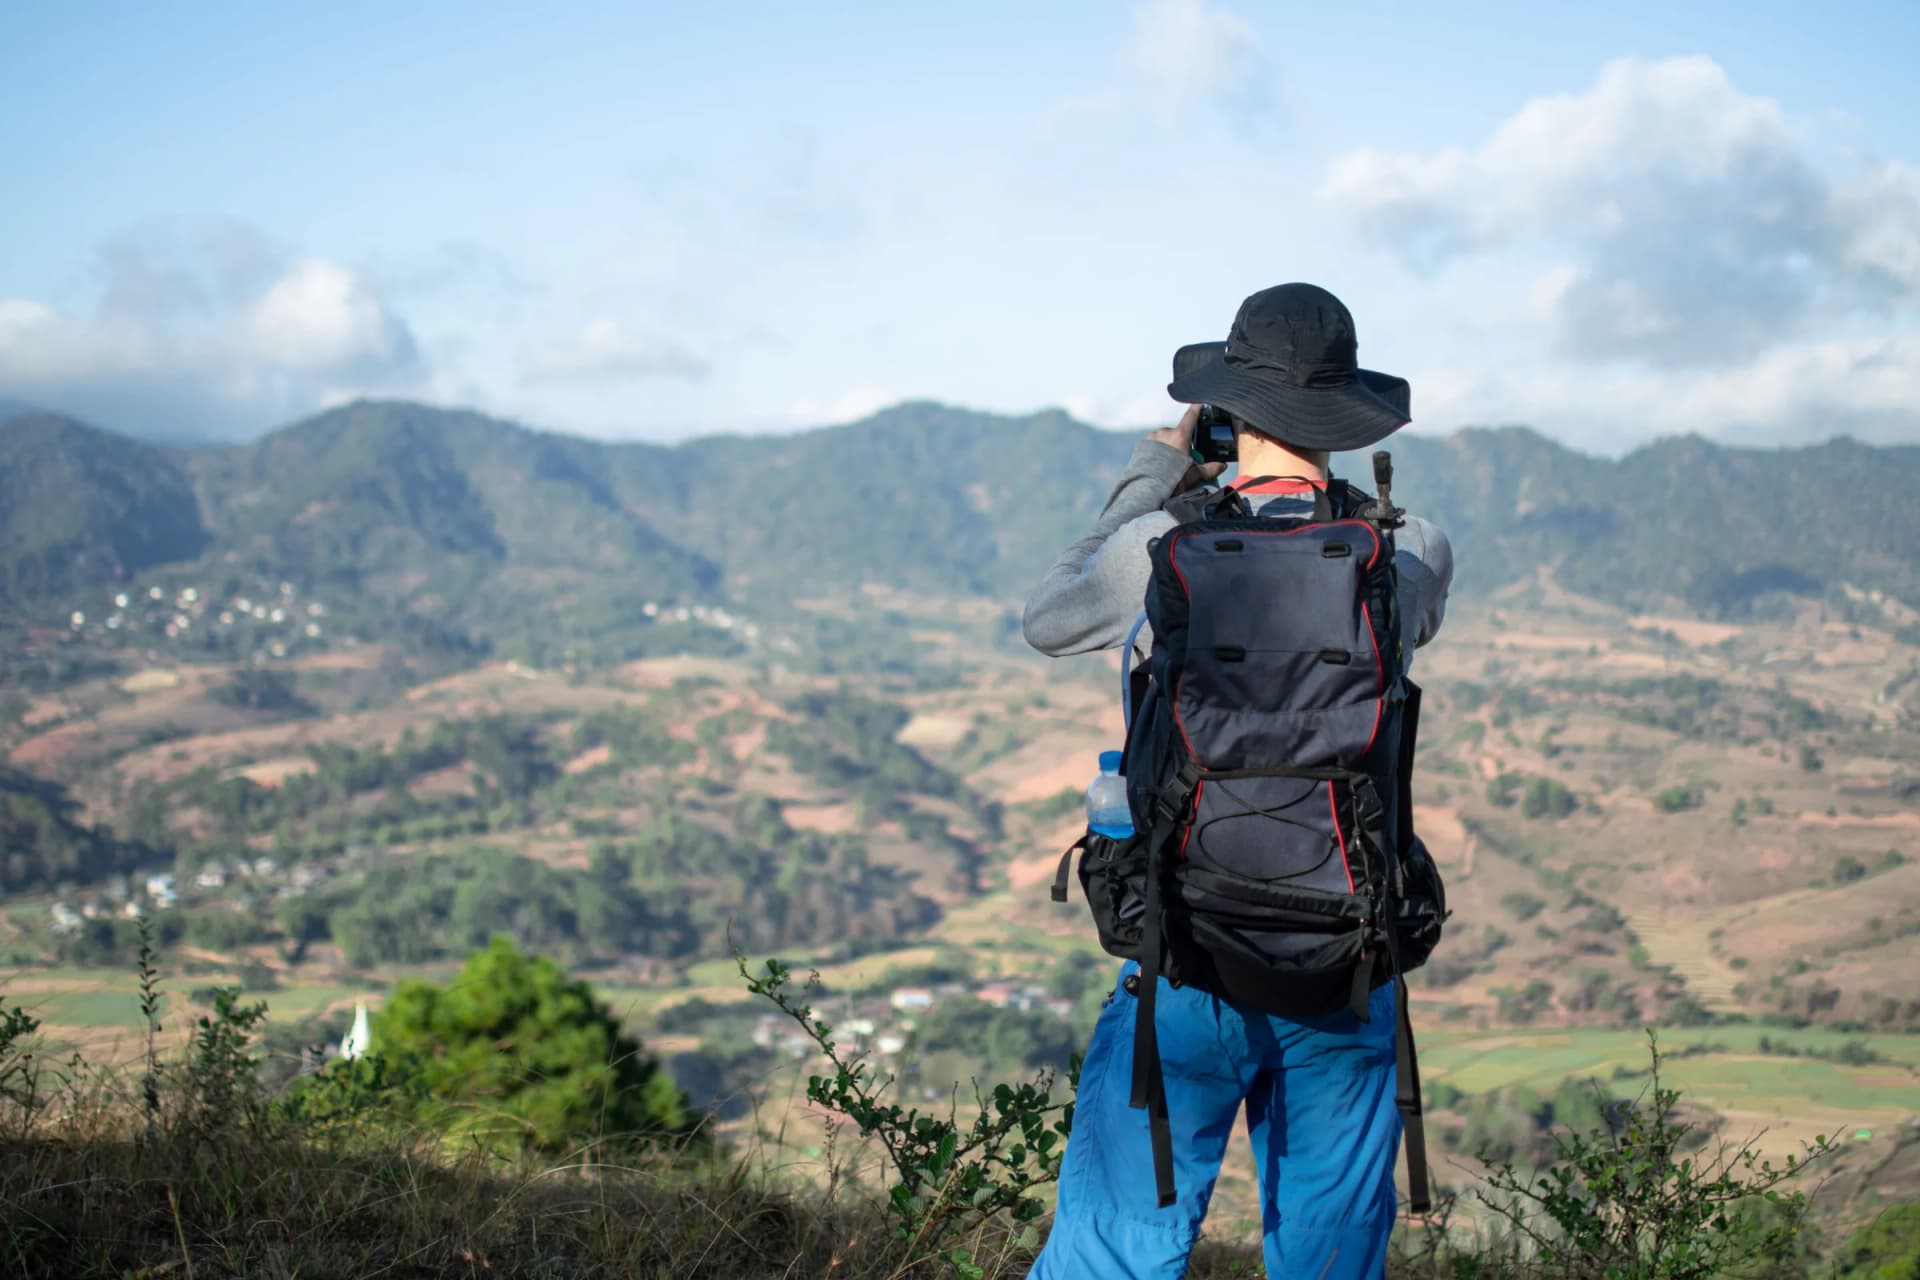
I love taking photos when I’m travelling however, most of my favourite ones tend to sit in my phone gallery. I have thousands of images but I can’t pick any to really stop and look at. If you can relate, creating a photo collage is the easiest way to take your messy camera roll and create one framed piece to display.
To create a photo collage I follow these steps;
Decide your story
Determine what type of collage you want to create. If you don’t have a theme then your collage can look like a screen grab of your camera roll. Here are a few popular options;
One collage per trip - 6-9 photos showing the vibe of your destination. Start with your ‘arrival’ photo and finish with your last dinner.
Places we’ve been collage - Just one photo per city/country. These grow over time so leave space to add more.
Year in review collage - 12 photos showing either one per month or one per trip. Gives a quick overview of how you travelled throughout the year.
Cities collage - Great to show a common theme within one city. Whether it be doors in Seville, tiles in Lisbon or signs in Tokyo.
Road trip collage - 3-5 photos in order. Packed car, hitting the road, stopping off, arriving and sunsets on the way home.
Having a theme sorted means everything else will be easier and all your photos will fit.
Select your photos
I made the mistake of just including my best landscape photos. Too many wide angle shots will clash. Try to create a mix of photos using different scales. Include a couple of wide angle shots, a few medium shots with people/buildings and some detailed shots. These might be the small photos people want to lean in to.
Ensure the resolution of your photos is high. A high res photo on your phone might not be so high when printed. Try to print original photos rather than screen grabs or photos sent through a messaging app as these will be very compressed. If some of your photos were taken in portrait and some in landscape then ensure you consider the number of each you have as this will affect your layout options.
Create a cohesive theme
This will give your collage a nice designed look. As you’ll have taken photos at different times and in different lighting they won’t all match so do the following;
Pick your colours - If you went to a Mediterranean location then use warm golds. If you went to a coastal/mountainous area then use cool blues and greens. Play around with the temperature and saturations to create a cohesive colour scheme.
Same filter - Ensure you have the same filter/ edits on each image.
Black and white - If your photos are a mix of random colours then converting them all to black and white will create a cohesive theme. This works particularly well for city and street photos.
Crop and straighten - Crooked horizons will stand out more in a collage.
Create your collage

You don’t need to use any design programmes. I tend to use an online travel collage maker as I can just start with a template, add my photos and download my print ready collage. Just select a layout based on your photo orientation, add your photos, reorder them to get the flow right and play around with spacing and background colour.
A tips for creating your collage layouts. Ensure that your spacing between the photos is minimal. Big spacing will make your collage look outdated. Choose a background colour from your colour scheme. Usually this will be an off white, dark neutral or muted colour from one of your photos. Ensure your standout photo is in the biggest box. You’ll also want to leave some space. If you want to add a caption just include the name of the place and year in a clean font.
Ensure you export your collage at highest quality. Zoom in to ensure there are no blurry/pixelated areas before printing.
Choose your size and paper
Ensure your print size matches the space it will go. If it’s going on a desk/shelf then an 8x10 inch collage should be enough. If you’re hanging it over a console table or bed then go for a bigger size such as 16x20 or 18x24. The more photos you have in your collage the bigger it should be. Otherwise your individual photos won’t be big enough to enjoy.
If you’re looking for a high end finish then use a matte or slightly textured fine art paper. This will give you no glare from your lights. Glossy will make your colours pop but will reflect light. If you’re going to put your collage in a frame with glass then definitely go for a matte option. However, if you want something lighter and cheaper to change then canvas or posters are great.
Framing
A usually a simple black/white/natural wood frame will look better than an ornate one. Your collage is quite busy so a thick white border will give your busy collage some breathing space and make your simple print look like it belongs in a gallery.
If if you’re creating multiple collages (e.g. a few trip collages or a mix of collages and single prints) then create a gallery wall. Place your frames on the floor and play around with the layout. Try to keep your spacing consistent (around 2-3 inches). Centre your frames so they’re eye level (around 57 inches from the floor to centre). Cut some paper templates and stick to the wall. This way you can play around with the layout before putting any nails in. If you want more ideas for decorating with your travels, read Around the World Wall Art: Bring Your Travels Home.
Just one to begin with
You don’t need to create collages for all your trips. Just pick the one you think about the most. Select 9 photos. Give them a cohesive theme and order one print. Once you’ve got it up on your wall you’ll know which one you want to create next. Travel memories can fade quickly so having a collage to hang will keep them close to you quietly.