
What to Pack for an Overnight Hike When Power Outlets Are Unavailable
By
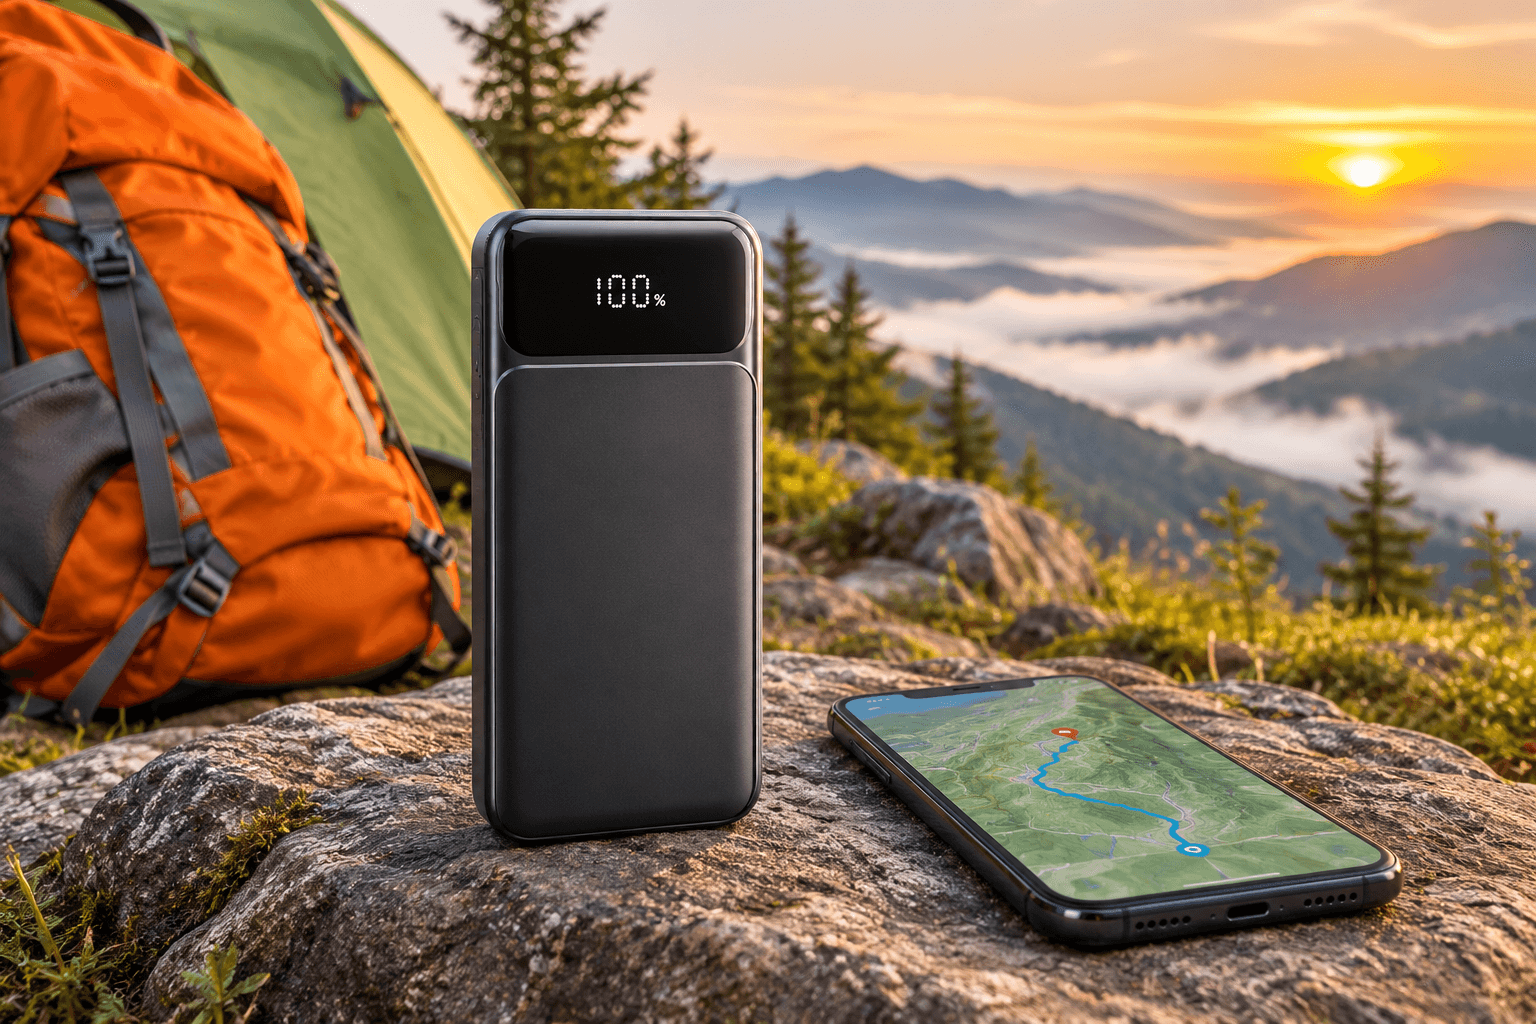
An overnight hike demands more than a packed backpack; it requires a plan for staying safe, comfortable, and connected when power outlets are nowhere nearby. A phone may support navigation, weather checks, and emergency communication, but relying on it without managing battery life can create avoidable risks. The right packing list balances essential camping gear with a lightweight charging setup, suitable cables, offline navigation, food, water, and weather protection.
Your choices should reflect the route, forecast, expected temperatures, and how much you use your devices. With a little preparation, you can carry dependable backup power without adding unnecessary weight to your overnight hiking kit throughout the whole overnight hiking trip.
Plan Your Overnight Hike Around Distance, Weather, and Power Needs
Before choosing equipment, consider how far you will hike, where you will camp, and how long you will remain away from reliable charging facilities. A short overnight route may require less food, water, and backup power than a remote trail involving difficult terrain or unpredictable weather. Check the forecast, trail conditions, available water sources, and campsite regulations. These details help determine which supplies are essential rather than simply adding weight to your backpack.
Your phone requirements also influence your packing decisions. Navigation, photography, location sharing, and emergency communication can consume battery throughout the journey. Estimate how frequently you will use these functions and whether other devices need charging. Consider the availability of cellular coverage and the possibility of extending your trip unexpectedly. A realistic plan should include enough battery reserve, additional food, suitable clothing, and emergency equipment instead of relying on ideal travel conditions.
Build a Lightweight Charging Kit for the Trail
A useful charging kit should contain only the equipment needed to maintain essential devices during the trip. For many overnight hikers, this means one appropriately sized power bank, a compatible charging cable, and a small protective pouch. Carrying multiple adapters, long cables, or several backup batteries can add weight without providing meaningful benefits. Check the charging requirements of your phone and other electronics before departure so every item in the kit has a clear purpose.
Keep the charging equipment organized and easy to access. A short, durable cable can reduce clutter, while a separate pouch helps prevent connectors from becoming tangled with other gear. If you carry wireless earbuds, a GPS device, or a camera, consider whether they genuinely need backup charging. Prioritize navigation and communication equipment over optional electronics. The objective is not to carry every possible accessory but to create a compact charging setup that supports your actual hiking requirements.
A basic charging kit can include:
One fully charged power bank and compatible cable.
A protective pouch or dry storage bag.
Choose the Right Power Bank for Your Hiking Trip
Power bank selection should balance battery capacity, physical weight, charging output, and the number of devices you intend to support. A larger capacity provides more stored energy but usually increases the weight carried on the trail. The most useful camping power banks are not necessarily the largest; a lighter model with the right output ports may be better for an overnight route. Check port compatibility and charging limits rather than choosing a product based on its mAh rating alone.
Pack weight can be just as important as battery capacity when choosing travel electronics. Avepower lists its 006 compact power bank at 5,000mAh and approximately 102g, with two 5V/2A USB-A outputs; by comparison, its K134 offers 40,000mAh and five USB outputs but weighs approximately 715g. Published specifications allow travelers to compare dimensions, connections, and electrical limits before choosing a device. The lighter unit may suit a simple charging plan, while the heavier configuration is more practical for vehicle-supported camping or trips requiring substantially more backup capacity.
Why a 10,000mAh Power Bank Does Not Deliver Ten Phone Charges
A power bank's advertised mAh rating describes its internal battery capacity at a specified nominal voltage, not the exact energy delivered to a phone. Watt-hours provide a more useful way to compare stored energy across different battery voltages. For example, a hypothetical 10,000mAh battery rated at 3.7V stores approximately 37Wh. During charging, voltage conversion and electronic components consume some energy, so the usable USB output is lower than the nominal stored energy.
A 10000mah power bank can be a sensible starting point for one phone, although the number of recharges depends on conversion losses and phone battery capacity. Consider a 5,000mAh phone battery rated at 3.85V, which stores approximately 19.25Wh. If an illustrative 80% of the power bank's 37Wh reaches the USB output, approximately 29.6Wh remains available. That represents roughly 1.5 equivalent full charges before accounting for additional real-world variations.
Basic energy calculations:
Power bank: 10,000 × 3.7 ÷ 1,000 = 37Wh.
Estimated output: 37 × 0.80 = 29.6Wh.
Phone: 5,000 × 3.85 ÷ 1,000 = 19.25Wh.
Pack the Right Cables and Charging Accessories
Charging compatibility matters because not every cable or connector supports the same power requirements. Check whether your phone uses USB-C or another connection and whether the power bank provides a suitable output. A USB-C connector does not automatically guarantee USB Power Delivery or fast charging. The device, cable, and power source must support compatible charging specifications. Understanding these differences helps prevent slow charging or carrying accessories that cannot deliver the expected performance.
For a simple overnight trip, one suitable cable is often enough if your main priority is keeping a single phone operational. Travelers carrying a camera, GPS unit, or other electronics may need an additional compatible cable. However, avoid packing several alternatives without a specific purpose. Inspect connectors for damage, test the charging setup before departure, and store cables where dirt and moisture cannot easily reach them. A small, organized accessory kit is easier to manage than a collection of unnecessary electronics.
Prepare Your Phone Before Leaving Home
Preparing your phone before departure can reduce battery consumption and limit dependence on mobile connectivity. Download offline maps for the complete route and surrounding area, including important junctions, water sources, campsites, and exit points where available. Save reservation details, trail information, emergency contacts, and relevant permits locally. Confirm that downloaded maps work without an internet connection. Navigation apps differ in their offline capabilities, so check their settings and download the required map areas before leaving home.
Once your preparation is complete, adjust settings according to your navigation and communication needs. Lowering screen brightness, limiting background activity, and disabling unnecessary notifications can help conserve energy. Airplane mode may reduce power consumption in areas without useful cellular coverage, but remember to restore connectivity when communication is needed. Keep location services available for navigation applications when required. Most importantly, start with a fully charged phone and avoid spending unnecessary battery on entertainment or repeated photography.
Useful pre-departure checks:
Download and test offline maps.
Save emergency contacts and route information.
Charge your phone and other essential devices.
Protect Charging Equipment From Water, Heat, and Cold
Outdoor conditions can affect both charging equipment and battery performance. Rain, condensation, mud, and accidental spills can damage electronic connections or interfere with charging. Store your power bank and cables inside a protective pouch or dry bag, especially when crossing streams or hiking in wet conditions. A protective bag helps reduce exposure to moisture, but it does not make a non-waterproof power bank waterproof. Keep connectors clean and dry before connecting any device.
Temperature management also deserves attention. Excessive heat can accelerate battery degradation, while cold conditions may temporarily reduce the performance and available output of lithium-based batteries. Avoid leaving electronics in direct sunlight or against hot cooking equipment. In cold weather, keep the power bank insulated inside your pack or a suitable pocket, following the manufacturer's operating instructions. Do not charge a device or battery that is wet, damaged, swollen, or outside its permitted temperature range.
Pack Essential Overnight Shelter, Sleeping, and Clothing Gear
Your overnight packing list should prioritize protection from the weather and enough comfort to recover before the next day's hike. Choose a tent, tarp, or other suitable shelter based on the campsite, forecast, terrain, and local requirements. A sleeping bag should have an appropriate temperature rating for the expected conditions, while an insulated sleeping pad helps reduce heat loss to the ground. Check that your shelter is complete and that its poles, stakes, and attachments are ready before departure.
Clothing should support changing temperatures and unexpected rain rather than simply match the forecast at the trailhead. Pack moisture-managing base layers, suitable hiking clothes, warm insulation, a rain jacket, and dry spare socks. Add gloves or a warm hat when conditions require them. Avoid carrying excessive clothing that serves the same purpose. The best selection depends on the season, elevation, exposure, and expected overnight temperature. Organizing sleeping equipment and spare clothing in separate waterproof storage also helps keep essential gear usable if the weather changes.
Carry Enough Food, Water, and Emergency Supplies
Hiking consumes energy, so bring enough food for the planned journey and a reasonable reserve in case delays occur. Pack meals that suit your cooking setup, along with snacks that are convenient to eat during breaks. Nuts, dried fruit, energy bars, and other compact foods can provide practical trail options. Plan drinking water around the route, expected weather, exertion, and refill opportunities. If collecting water from natural sources, carry an appropriate filter or treatment method and understand how to use it correctly.
First-aid and basic repair supplies are equally important. A compact first-aid kit should include suitable dressings, blister care, and personal medication, with additional items based on the group and route. Pack hygiene supplies, waste bags, and tools for minor equipment repairs. Check whether the area has specific food-storage rules or wildlife precautions. Carrying extra food, suitable hydration equipment, and essential medical supplies helps prepare for delays and minor problems without relying on nearby facilities.
Useful emergency supplies include:
First-aid kit and personal medication.
Water filter or appropriate treatment supplies.
Repair materials, hygiene items, and waste bags.
Create a Backup Plan for Navigation and Emergencies
A charged phone and power bank are useful navigation tools, but neither should be your only emergency plan. Carry a physical map and compass, and learn how to use them before entering unfamiliar terrain. A headlamp with suitable spare batteries provides dependable lighting after sunset without requiring your phone screen. Save the trailhead location, campsite details, and emergency contact information. Before leaving, share your route and expected return time with someone who is not joining the hike.
Cellular coverage may be unreliable or completely unavailable in remote areas, so ordinary phone calls and messaging cannot be guaranteed. For isolated routes, a compatible satellite messenger or personal locator beacon may provide an additional emergency communication option, depending on coverage, service requirements, and local regulations. Understand how the equipment works before departure. If conditions become unsafe, follow your route plan and established emergency procedures rather than continuing simply to meet a schedule. Reliable preparation includes navigation backups, independent lighting, and a clear communication plan.
Conclusion
A successful overnight hike starts with packing for the conditions, not simply filling every space in your backpack. Prioritize shelter, suitable clothing, food, water, first aid, and reliable navigation before deciding how much electronic backup power to carry. Choose a power bank that matches your actual device needs and acceptable pack weight, then protect it from moisture and temperature extremes. Download maps, conserve phone battery, and keep a physical navigation backup available.
A compact, carefully organized charging kit can make time outdoors more convenient, but it should never replace sound preparation or emergency equipment. Plan thoughtfully, pack selectively, and enjoy the trail with greater confidence before you leave the trailhead.
FAQs
1. What should you pack for an overnight hike?
Pack a backpack with a suitable shelter, sleeping bag, sleeping pad, weather-appropriate clothing, food, water, first-aid supplies, a headlamp, navigation tools, and emergency essentials. Include a charged phone, compatible charging cable, and power bank based on your expected battery needs.
2. Do you need a power bank for an overnight hike?
A power bank is useful if you rely on your phone for navigation, weather updates, photography, or emergency communication. Choose its capacity according to your device's battery size, expected usage, and trip duration. Keep a separate navigation backup because a power bank cannot replace emergency equipment.
3. What size power bank is best for overnight camping?
A 10,000mAh power bank can be a practical option for many overnight trips because it offers a balance between capacity and portability. However, actual charging capacity is lower than the advertised figure due to energy-conversion losses. Consider a larger model only if your devices and power requirements justify the extra weight.
4. How do you keep your phone charged while hiking?
Start with a fully charged phone and power bank. Download offline maps, reduce screen brightness, enable airplane mode when cellular service is unnecessary, and limit background applications. Use your phone only when needed and recharge it from your power bank when its battery level requires attention.
5. How do you protect a power bank while camping?
Store your power bank in a dry, protective pouch and keep it away from direct sunlight, excessive heat, and extreme cold. Avoid exposing it to rain or condensation, and inspect it for damage before use. Always follow the manufacturer's temperature, charging, and storage instructions.